Showing posts with label Joy the baker. Show all posts

20 May 2011

Fat Friday...


I'mma go right ahead and say that this recipe is good. Sunshine on a rainy day, cold side of the pillow kinda good. It's light, moist, and colourful. It's...it's......bread.

Wait. What? Bread you say? Yep. Or at least that's what Joy calls it. Mango lime bread. And boy is it noice.

Now I'm not one to cause disputes, but to me this was certainly no bread as I know it. Cooked in a loaf tin, yes. But bready? No not really. It was cake. Super-moist, delectable cake that seemed to evaporate from it's tin. Funny that.

Anyway, I'm going to give into persuasion here and continue to call this one bread. Why? Well, not least because bread is eaten at lunch. And sometime breakfast. And frankly, I'd quite like to eat this 'bread' all day long. So thank-you Joy, for giving me the best sandwich alternative around. Goodybye Warburton's, hello sunshine.

INGREDIENTS

I know...it's a lot. But once they're all chucked together, they make the sweetest summer treat - trust me, it's worth it.

First off, preheat the oven to 350°F // GM 4 // 180°C. Grease a loaf tin, dust with flour and shake out the excess. You'll also need two ungreased baking trays...more on that later.

In a large mixing bowl, stir together the flour, caster sugar, baking powder, baking soda and cinnamon.

Then crumble in the muscavado sugar with your fingers - ridding it of any big lumps [Fergie wouldn't be very proud]


Whisk together the eggs and oil and pour over the dry ingredients. Stir until thick and incorporated.

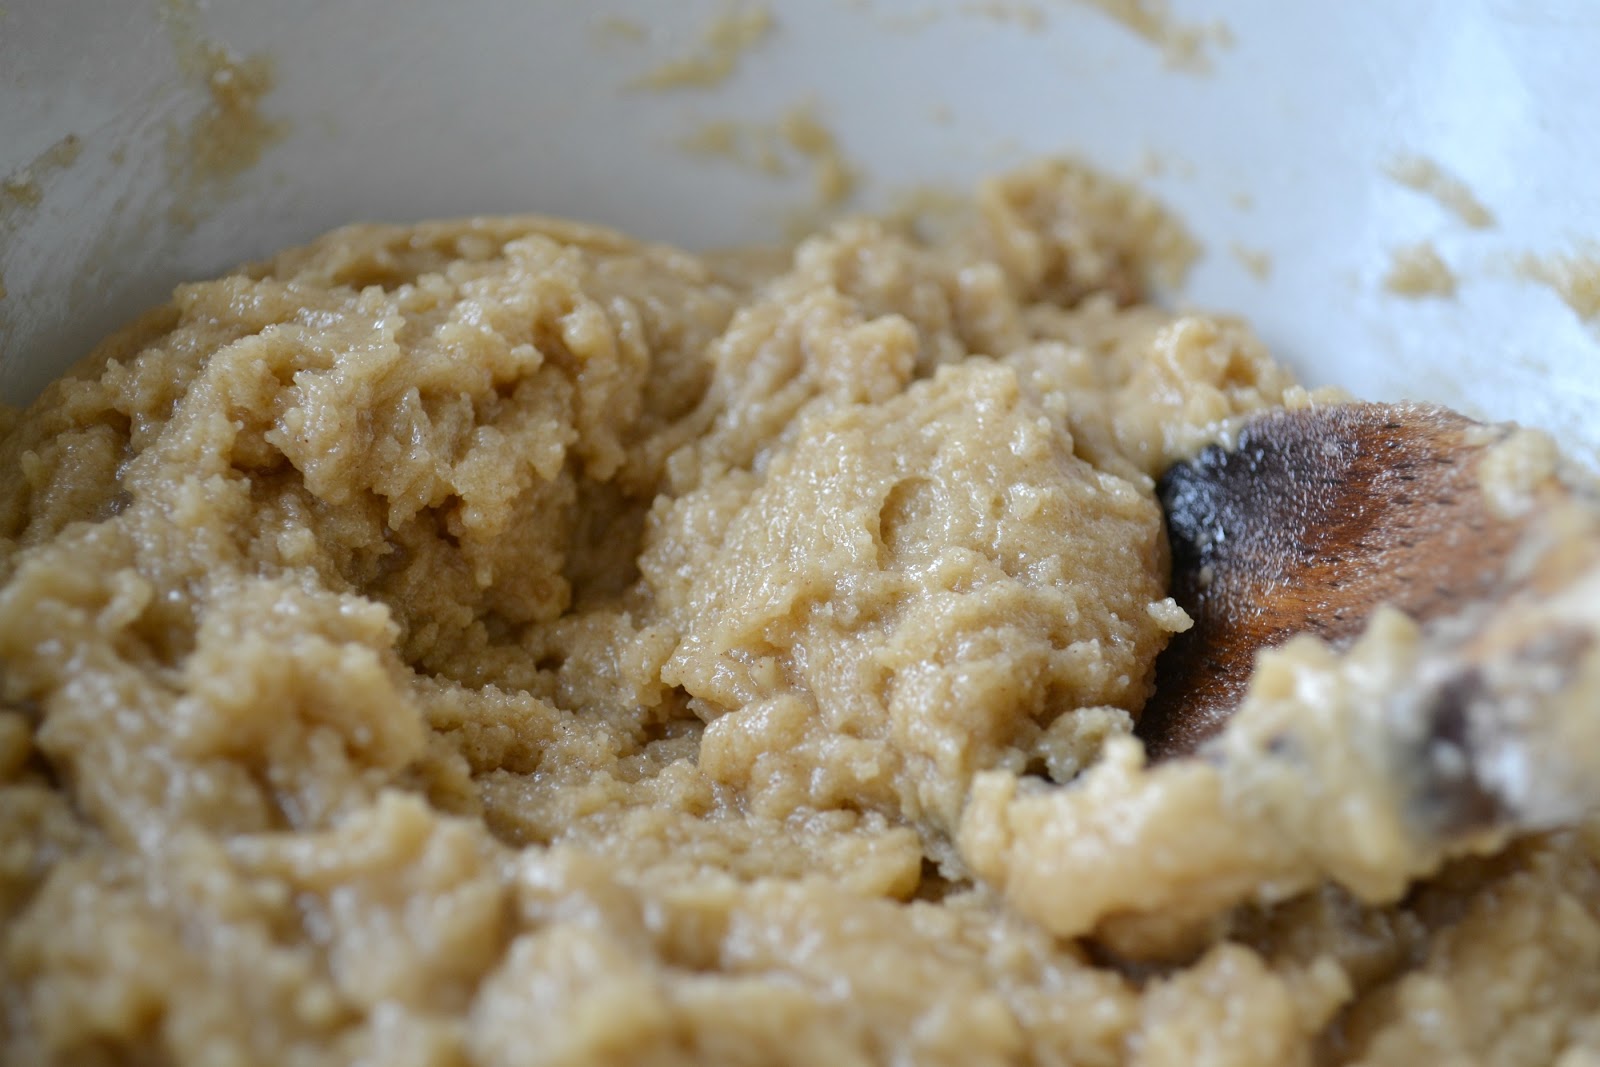
Now for the sunshine. Zest the lime and grate the apple. Add them both to the mixture above along with those lovely raisins and drained mango slices [I chopped them up in to smaller pieces].


Once all of the ingredients are stirred in well, pour the mixture into the pre-greased, flour-dusted loaf tin. Now for those two baking trays: to create a little insulation, and stop the cake base from burning, layer two baking trays and pop the filled loaf tin on top of them before putting it in the oven....


Now just bake it for about 1 1/2 hours [I know... I willed it to bake faster but alas, the cake-gods failed to hear me] and bring out when golden on top and cooked in the centre. If the crust begins to brown too quickly, just cover with some foil for the remaining time. Et voila.


If it's refusing to slide out of the tin, just run a knife around the very edges - take care not to slice into it though - severe injuries could occur...


Poor cake. Don't make my mistake and leave the poor guy hanging. Slice it off, eat it up and go in for seconds. Oh wait...that last part I had down to a t.

xxx

6 May 2011

Fat Friday...


Oh man. Just thinking about these sweet, flaky, ready-to-eat goodies is making me drool.

And then I remember that I'm back at uni, and they're 40 miles away. Sob.

Honestly though, it's probably best that these are as far away from me as possible as it would be far too easy to gobble the lot. Adapted from one of Joy's recipes [my obsession with that site is becoming all too tangible, apologies], these chocolate-peanut-puff-pastry parcels were described by the lady herself as pillows. I can't promise I'd be tempted to sleep on them; crumbs in the hair isn't a great look for me personally, but I will no doubt be dreaming about them [whilst sleeping on very normal, cotton covered pillows.....promise].

I can't waffle on about these enough really, although I probably already have. All you need to know is that these are ridiculously easy to make, and even easier to scoff. So read, make, bake and eat :)


Pre-heat the oven to GM 6 // 400°C // 200°C and line a baking tray with foil [use butter to stick it to the tray..mmmm butter glue]

Take your sheet of pastry and roll it out onto a floured surface. Roll until it's stretched about an inch on each side.


Gently fold the pastry in two to form a crease, then unfold and use a sharp knife to slice down the line.

Place one piece on top of the other and slice into 18 squares of equal size [or 36 squares if you're counting both layers]


Split the squares apart, removing all of the top layer from the bottom layer. BIG tip here - keep the squares in the same order so it's easy to match them to their counterpart later on....unless of course you love a good ol' game of concentration.

Now for the nommable part. I think I pretty much got a meal out of the ''leftover'' chocolate and peanut butter. Please don't judge; what else is a girl to do when there's [god forbid] no bowl to scrape clean?!

Spoon about 1/2 tsp of peanut butter onto each of the bottom squares, then top with about half a chunk of chocolate, or a few chocolate chips if you prefer.


Next up, it's time to tuck in these little mounds of YUM by matching them up with their respective top layer. Dab a little water around the edges of the bottom square before placing the upper layer on top, squeezing gently to seal the sides.

To double check the parcels are sealed properly, use a fork to crimp around the edges.


Pop the crimped parcels onto your pre-lined tray, and use a little milk to brush the tops. Sprinkle with some granulated sugar for some extra crunch if you like.


Put them into the oven for about ten minutes until golden brown, crispy and puffed up. Apparently these have a tendency to explode, but thankfully this batch remained firmly intact. And if they do decide to blow up? Well, you'll just have to find some way of cleaning up the melted chocolate/peanut butter combo I guess...difficult job, but someone's got to do it.


And here they are in all their crisped-up flaky glory. Pastry pillows that I doubt will last long enough for you to try sleeping on anyway. NOM.

xxx

25 March 2011

Fat Fridays...


 Normally this is my cue to complain how quickly the week has flown by, how subsequently unprepared I am and then, as with the last two weeks, try desperately to turn some mediocre recipe into something vaguely readable or, at worst, just link to some others on the internet.

This week however, having waved goodbye to uni for a few weeks, I've been having to talk myself into not posting this one early, for fear that it would upset Fat Friday [yes, it has become a living entity now] when its slot became empty as a result.

So basically, I've been baking like a mad-lady and then sitting on my hands [and stuffing my face with said goods] in order to stop myself from posting it before Friday. Well fellow sweet-toothed readers, it will be worth the wait. Behold, peanut butter pecan biscotti...

INGREDIENTS

Yet another joy adapted from, well...Joy. That woman is a baking queen I tell you - these turned out perfectly, albeit a little too perfect in making me want to gobble the lot. Just follow the steps below and voila, heaven on a plate. Or in your belly.

Pre-heat the oven to gas mark 3 // 325°F // 170°C and line two baking trays with greaseproof paper.

Sift the flour into a mixing bowl and stir in the salt and baking powder.

In a separate bowl cream the sugar, peanut butter and regular butter together until fluffy

I'm never entirely sure what this is meant to mean...fluffy to me is bunny rabbits and cotton wool, not butter and sugar, but hey - just beat it together til pale and smooth.


Now it's time to separate your eggs. You need one whole egg, plus an extra yolk, but it's worth saving the white for brushing the dough with later. Confused? ...


...sorted. That's one and a half eggs on the left and half an egg on the right. Simples.

Beat the egg [the one with two yolks] and mix into the creamed butters and sugar until you have something that looks like this...


Hmmm...attractive. Don't worry though, if it looks like a cross between baby food and fudge, you're on the right track.

Now just add the dry ingredients to the wet mix gradually, stirring as you go.


 When it's all mixed together, it should form a dry but shapeable dough. Now just add the pecans and mix them in with your hands.


And now it's baking time! Divide the dough into two, shape into rectangular sausages [geometry never was my strong point] and place one on each baking tray.


Remember that extra egg white? Just beat it [...beat it] with a splash of milk and brush onto the nutty loaves - you can sprinkle sugar on too if you like.

Into the oven they go for around 15 minutes, then swap shelves and bake for a further 20 mins.

When they come out they should look deliciously golden, and the smell, man that smell is good. But alas, it's all a tease as they need to be sliced up and re-baked.


Cut into slices about an inch thick and place cut-side down on the baking tray. 

According to the original recipe, they should only need another 10 minutes in the oven tops, but mine needed more like 15, perhaps a little longer for those on the bottom shelf.
When they are golden and slightly crispy on top, bring them out of the oven and allow to cool...if you can wait.


And there you have it, sugar topped, nut-filled biscotti slices. I can't help thinking how great these would taste spread with nutella. And when I say spread I mean an undignified dunk straight into the jar. I'm such a lady.

They might turn out a little skewiff, lumpy and bumpy in parts, but don't worry, their uneven shape could make for some interesting developments...


A French-speaking, peanut-flavoured moustache biscuit?

Why, don't mind if I do.


18 March 2011

Fat Friday...

Happy St Patricks day! [For er...yesterday]

Hopefully you all used it as the perfect excuse to head out to the pub, wear silly hats and drink guinness. Or, you could've made like me and eaten cookies whilst watching the model agency. Festive.

Anyway, this week's Fat Friday is going to be an ode to all things St. Patrick-y and by that of course I mean all things green. Whether it's milkshakes, cupcakes, cake pops or pies, there's a whole host of things you can make seasonally appropriate with a little food colouring [and a lot of imagination] and so i'll hand over to my trusty baking archives to guide you towards some yummy treats.


Chocolate-cinnamon brioche rolls
 [on a green tablecloth. Did I mention we're playing tedious links btw?]


Oreo Key Lime Pie


Matcha Green Tea Malted Milkshake
[Apparently we're playing tongue-twister too.]


Sesame Street Cake Pops


I don't know about you, but I'm turning green with photography/baker envy. 


And hunger.


25 February 2011

Fat Fridays...

This Fat Friday brings me the perfect chance to introduce you all to one of my favourite blogging ladies ~ Joy The Baker. I'm sure lots of you read her blog, possibly as addictively as I do, and for those that don't I urge you to go and take a look. She'll no doubt be featuring a lot in Fat Fridays as her recipes are, frankly, incredible.


This recipe is one I'd seen ages ago on her blog, but had to wait for reading week to get the chance to cook and photograph it properly. And man was it worth the wait. Never before has 'eaten straight from the oven' been taken so literally. There were tears of joy. And blisters.

Not convinced? I'll let the recipe do the talking!

Chocolate Orange Scones ~ inspired by Joy the Baker

INGREDIENTS

Preheat the oven to 425ºF//220ºC//GM 7

In a large mixing bowl sift together the flour, sugar, baking powder and baking soda. Grate in the orange zest [I used the zest of a whole orange] and marvel at it's prettiness...

...boodiful.

Next, cut the butter into cubes and rub into the flour mixture with your fingertips until it looks like breadcrumbs.


When your fingers feel just about ready to drop off, it's probably time to stop.

Beat together the milk and egg yolk and pour [all at once] into the dry mixture.


Stir the liquid into the dry ingredients to form a sticky dough.

Now for the best bit... IT'S CHOCOLATE TIME PEEPS. Chop it up into fairly decent sized chunks and mix into the dough.
[note this recipe calls for chunks, non of this feeble 'chocolate drops' nonsense thank you]


Now for some much needed kneading...ahem. The recipe calls for the dough to be turned out onto a floured surface and kneaded ''about 15 times''. I found the mixture way too sticky to even pick up so added a little flour to the mixture before turning it out and kneaded it lightly to stop it from clinging to the surface.

Then flatten the dough into a roughly rectangular shape and cut into 6 squares.

Et voila, scones at the ready!


Brush with a little extra milk if you want a nice golden crust [and, let's face it, who wouldn't] and pop onto the middle shelf of the oven for 12-15 minutes.

For baking this is a pretty high temperature so you might want to keep checking that there's no burnt edges...or worse.

When the cooking time's up they should look a little something like this...


... a little higgeldy piggeldy perhaps, but wonderfully golden and oozy. Like a big golden....oozy monster.

Yeah. I'm err, not sure what I mean either, but I think this pic just about sums it up...


Scary stuff. Though not quite terrifying enough to stop me eating it. Plus two. Oops!

There's quite a few ingredients in this one, and a fair amount of steps too, but we're not talking rocket science. More Greg Wallace than gastro-cuisine. So if you like Terry's Chocolate Orange, and your partial to a scone or three, make sure you give this one a try...and let me know how you get on!